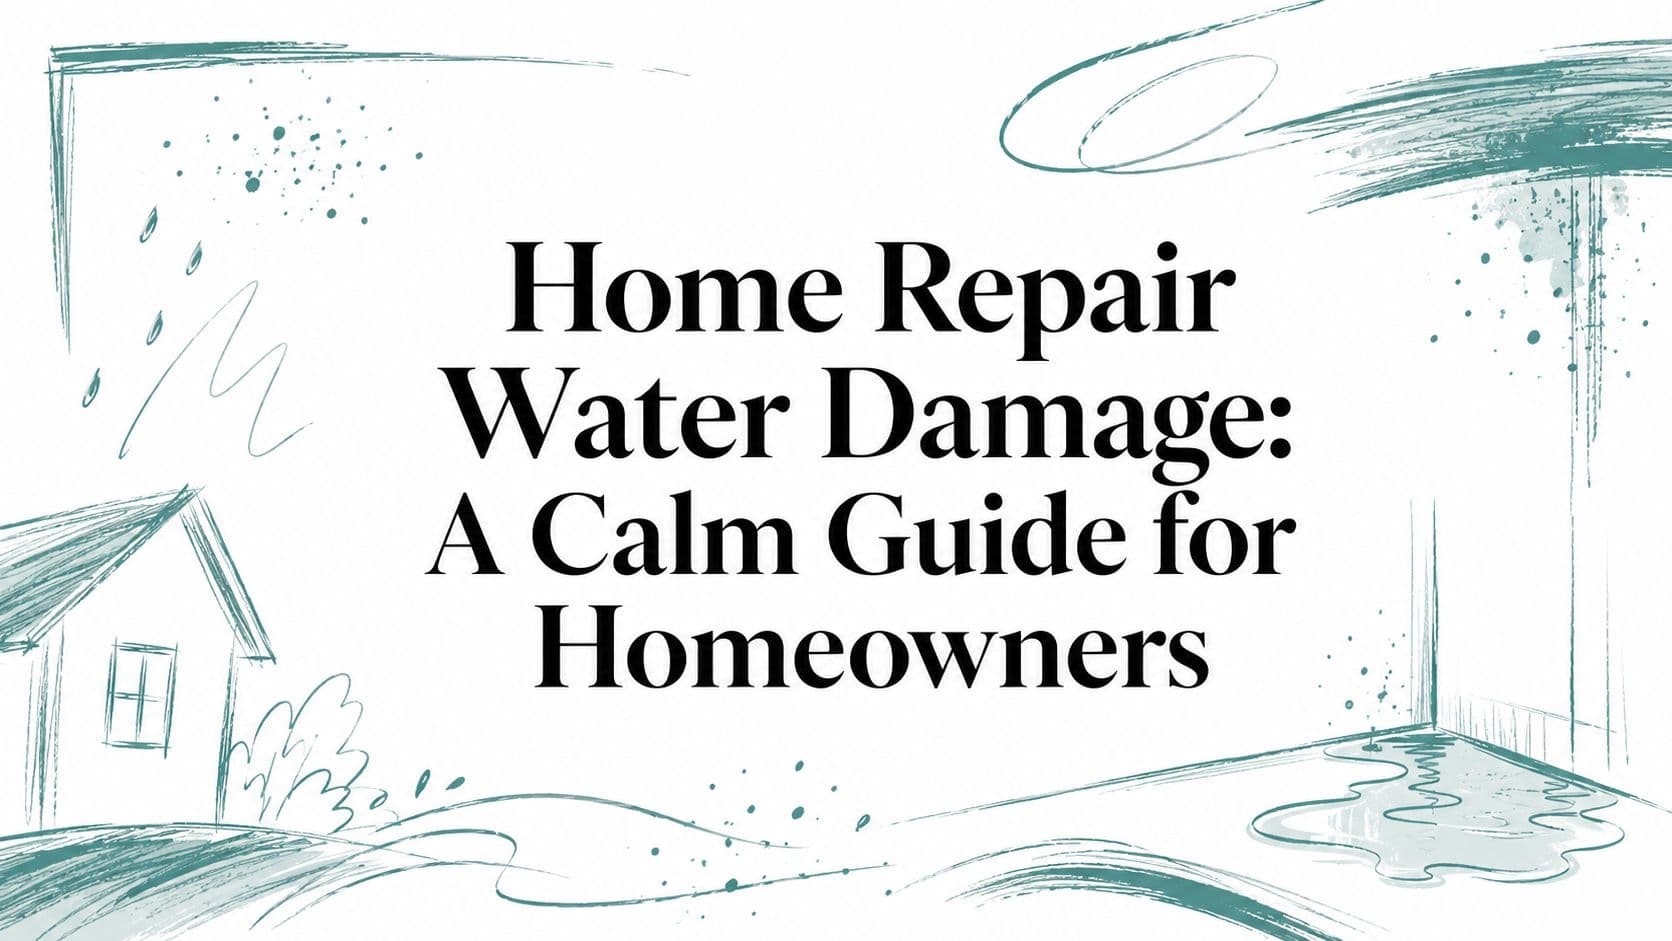
Water on the floor. A brown ring spreading across the ceiling. Carpet that suddenly feels cold and wet under bare feet. That moment scrambles people fast, because the house feels unfamiliar all at once.
The good news is that panic doesn't fix water damage, but a clear sequence does. The feeling of being overwhelmed is normal, and it helps to remember this isn't rare. About 1 in 60 insured homes in the U.S. files a claim for water or freezing damage annually, which means roughly 14,000 people are dealing with it every day, according to Mordor Intelligence's water damage market overview.
What matters most in the first day is simple. Stay safe. Stop the water. Record the damage before cleanup changes the scene. Then get a professional assessment so the drying is based on measurement, not guesswork. That's the difference between a clean recovery and a repair that has to be opened back up later.
Water in Your Home? Your First Steps to Take Control
Most homeowners don't discover water damage at a convenient time. It's usually before work, late at night, or during a storm when the mind immediately jumps to cost, insurance, and whether the house is about to get worse by the minute.
That reaction makes sense. Water damage changes quickly, and home repair water damage decisions made in the first few hours have outsized consequences later. The wrong move isn't usually dramatic. It's more often small things like waiting too long to shut off the source, tossing wet items into a pile, or drying only the visible surfaces while moisture stays trapped behind baseboards and under flooring.
A calmer approach works better. Think in this order:
- Make the area safe
- Stop the water if possible
- Document before disturbing the scene
- Protect items that can still be saved
- Get professional drying assessed early
Water damage looks like a cleanup problem, but the first day is really a decision problem.
A ceiling stain from an upstairs toilet supply line needs a different response than a washing machine overflow or a refrigerator line leak. But the first principles stay the same. Electricity and standing water don't mix. Porous materials hold moisture longer than people think. And surfaces that feel dry can still be wet inside.
That is why the first 24 hours matter so much. Good decisions now can keep a small water event from turning into drywall replacement, flooring removal, or mold remediation later. A careful, measured response gives the home the best chance of a straightforward recovery.
Your First Hour What to Do Immediately After Discovering Water
The first hour sets the tone for everything that follows. People often want to start mopping immediately, but safety comes first.
Start with safety, not cleanup
If there's standing water near outlets, power cords, appliances, or a breaker-fed area that might be energized, stay out until power to the affected area can be shut off safely. If the electrical panel is in a wet area, don't approach it. Call for professional help.

Then move to the water source. That might be a toilet shutoff, a sink stop valve, the washing machine supply valves, or the home's main shutoff if the leak source isn't obvious. Stopping active water intrusion always beats trying to keep up with towels.
Use this first-hour checklist:
- Kill the source first: Turn off the nearest valve or the main water supply if the leak is active and the source isn't obvious.
- Control electrical risk: Keep people and pets out of wet areas with possible live electricity.
- Don't use household appliances in the wet zone: Vacuums, extension cords, and floor lamps can create a dangerous situation fast.
- Protect the fastest-to-ruin items: Pick up area rugs, paper goods, electronics, framed photos, medications, and soft goods that are still salvageable.
- Separate wet from dry belongings: Don't stack damp items together. That traps moisture and makes sorting harder later.
Stop the source and protect what matters most
Once the leak is stopped, raise what can be lifted. Aluminum foil, wood blocks, or plastic tabs under furniture legs can help keep moisture from wicking higher into wood upholstery frames or case goods while help is on the way. Remove table lamps, small electronics, and anything sentimental that can be moved safely.
Open cabinet doors if water came from under a sink or appliance connection. That won't solve hidden moisture inside wall cavities, but it can reduce immediate surface saturation in enclosed spaces.
Practical rule: If water has touched drywall, carpet pad, insulation, cabinetry toe-kicks, or wood flooring, assume the problem is bigger than the puddle you can see.
Time matters because mold doesn't wait for a convenient schedule. Mold can begin to colonize damp materials like drywall and carpet within 24 hours, and by 72 hours it can become widespread enough to require a more complex remediation project, based on EPA guidance on indoor mold growth after water exposure. That is why serious home repair water damage should not be managed as a weekend cleanup project.
How to Document Water Damage for a Smooth Insurance Claim
Cleaning too early is one of the most common mistakes. Once soaked rugs are moved, ceiling drywall is cut, or wet contents are discarded, the original evidence is gone. Insurance decisions often depend on whether the damage scope is clear, consistent, and well documented.
Take photos that tell the whole story
A phone camera is enough if it's used methodically. Start outside the affected room and work inward. That gives context, which is what adjusters and restoration teams need.
A simple way to remember it is wide, medium, close.
- Wide shots: Stand in the doorway and photograph the whole room, including floor, walls, ceiling, and nearby furniture.
- Medium shots: Move closer and capture the damaged section of flooring, the stained ceiling area, or the wet wall section.
- Close-ups: Photograph bubbling paint, warped baseboards, soaked contents labels, supply line failures, appliance model tags, and visible leak points.
Video helps too. Do one slow walkthrough and narrate what happened, when it was discovered, and what rooms are affected. Keep the pace slow enough that details are visible on playback.
Build a simple room-by-room record
Don't try to create a perfect spreadsheet in the middle of a water event. A notes app works. So does paper. The goal is to create a clear list before memory gets fuzzy.
Use a quick room-by-room log like this:
| Room | What is wet | What appears damaged | Immediate action taken |
|---|---|---|---|
| Kitchen | Floor near dishwasher | Baseboard, cabinet toe-kick | Water shut off |
| Hallway | Ceiling stain | Paint, drywall texture | Photos taken |
| Bedroom | Carpet edge | Rug, nightstand leg | Items moved |
Add a second list for contents. Include furniture, electronics, rugs, shoes, boxes in closets, and anything stored on the floor. If a contractor or insurer later asks what was there, the answer is already organized.
Record first, move second. That order protects the claim and reduces disputes about what was damaged before mitigation started.
When legal or claim questions start getting complicated, some homeowners also review guidance from a flood damage lawyer resource to understand how documentation, scope, and insurer communication fit together.
Understanding the Drying Process When to Call a Pro
Visible water is only part of the job. The primary issue in home repair water damage is what soaked inward and stayed there.

Towels, a shop vacuum, and a couple of box fans can remove surface water. They can't confirm whether subflooring, wall cavities, insulation, or the backside of drywall have reached proper drying targets. That measurement step is what separates a professional dry-out from a room that only looks dry.
What professional drying actually involves
A qualified restoration team follows a structured process aligned with IICRC practice. The sequence includes site assessment, documentation, water extraction, controlled removal of non-restorable materials, drying equipment setup, antimicrobial treatment, daily monitoring, and final drying verification, as outlined by National Water Damage Authority's restoration process overview.
That process matters because drying isn't just about moving air. It involves moisture mapping, choosing the right number and placement of air movers and dehumidifiers, tracking moisture readings, and adjusting equipment as materials release water over time.
This short walkthrough helps make that process easier to visualize.
What works and what doesn't
The biggest trap is hidden moisture. About 35% of homeowner-managed repairs lead to secondary mold growth because moisture remains in wall cavities and under floors, and 25% of water pockets go undetected without tools such as thermal imaging or moisture meters, according to Revive Pros' guide to repairing water damage.
That single point explains why do-it-yourself drying often fails. A laminate floor may look normal but trap moisture below. Baseboards can feel dry while the bottom plate behind them is still wet. Carpet can seem improved while the pad underneath remains saturated.
A useful comparison looks like this:
| Household approach | What it can do | What it usually misses |
|---|---|---|
| Towels and mops | Remove puddles | Moisture in cavities and under materials |
| Box fans | Move room air | Deep drying and humidity control |
| Open windows | Help in some weather | Consistent moisture removal |
| Wet/dry vacuum | Extract some surface water | Verification of structural dryness |
| Moisture meter and commercial dehumidifier | Measure and dry deliberately | Requires trained use |
For a tiny clean-water spill on a hard tile floor with no seepage into adjacent materials, basic cleanup may be enough. For almost anything beyond that, professional assessment is the safer path. Wet drywall, cupped wood flooring, damp carpet pad, ceiling leaks, appliance failures, and any contaminated water all deserve expert evaluation.
If no one has measured the wall, subfloor, or cavity, no one knows whether it's dry.
Finding and Vetting a Licensed Water Damage Contractor
When the immediate emergency settles, the next pressure point is choosing the right contractor. This part matters because the contractor isn't just drying the home. That company is shaping the scope, the paperwork, and often the repair path that follows.
Questions that quickly separate good contractors from bad ones
A solid contractor should be able to explain the plan in plain English. If the explanation sounds vague, rushed, or loaded with buzzwords, that's a problem.
Ask direct questions:
- Are they licensed and insured: A homeowner should be able to verify the license and ask for proof of insurance.
- Do they use IICRC-aligned methods: The company should describe assessment, extraction, controlled demolition when needed, drying equipment, monitoring, and final verification.
- Will they document the loss thoroughly: Photos, moisture readings, daily notes, and clear scope language matter.
- Can they explain what is salvageable: Good contractors don't tear out everything by default, and they don't promise to save materials that are clearly compromised.
- Do they have a written scope of work: Verbal assurances aren't enough during water damage.
A reliable option for local help can save homeowners from calling five companies while standing in a wet hallway. For example, homeowners needing local assistance can review San Diego water damage repair support when trying to connect with a vetted company quickly.
How insurance fits into the contractor decision
Insurance communication gets easier when the contractor's process is organized. The best companies don't just place equipment and disappear. They create a record that makes sense to an adjuster and to the homeowner.
The contractor should be able to describe the sequence without hedging:
- Initial assessment: What is wet, what category of water is involved, and what may need removal.
- Mitigation plan: Extraction, containment if needed, equipment placement, and safety concerns.
- Monitoring: Return visits to check readings and adjust equipment.
- Verification: Confirmation that materials have dried to target before rebuild starts.
A good water damage contractor doesn't pressure a homeowner to understand industry jargon. They translate the process into decisions the homeowner can actually make.
Homeowners in broader city markets sometimes prefer to start with a city page rather than a contractor search. Local service pages such as San Diego and Tampa can help narrow that search to one accountable provider instead of a lead marketplace.
The wrong contractor often reveals problems early. They avoid specifics. They don't mention monitoring. They promise fast cosmetic repairs before the structure is dry. Or they talk about insurance approval as if documentation doesn't matter. Those are warning signs.
Water Damage Repair Costs Timelines and Preventing Mold
Once drying is complete, repair begins. This is the stage most homeowners think of when they hear home repair water damage, but the quality of the rebuild depends heavily on whether the drying was done correctly first.

What repairs usually happen after drying
Repair order matters. A competent team usually restores the structure from the inside out.
That often means:
- Insulation and cavity work first: If wet insulation or damaged wall sections were removed, those areas are addressed before surfaces are closed.
- Drywall and texture next: Patches, full sheets, corner bead, and finish texture come before trim and paint.
- Flooring after structure is ready: Depending on the material, that may involve drying and saving, partial replacement, or full replacement.
- Trim, cabinets, and paint near the end: Finish work should happen after moisture issues are resolved, not while the area is still stabilizing.
If the water involved contamination, repair scope usually gets broader because more materials may be non-salvageable.
What costs and timelines usually depend on
Water category changes cost quickly. Restoration runs about $3 to $4 per square foot for "White Water" and about $7 to $7.50 per square foot for contaminated "Black Water." Average repairs can cost a homeowner up to $4,100, while the average insurance payout for more severe claims is $11,605, based on Krapf Legal's water damage statistics and repair cost summary.
That range exists because not all water losses are equal. A clean supply-line leak in a laundry room is different from a sewage backup in a finished basement. Material type matters too. Carpet pad, MDF baseboards, particleboard cabinets, hardwood flooring, and insulation all respond differently once wet.
Repair time also depends on how much demolition was necessary and how many trades are needed after mitigation. Minor clean-water incidents can dry faster than more severe losses, but reconstruction still has to follow proper sequencing. Drywall can't be painted before it's repaired. Flooring installers often need a stable, dry substrate. Cabinet and trim replacement can add scheduling complexity.
Mold prevention is mostly a drying and verification issue. Homeowners often think mold prevention starts with a spray. In practice, it starts with removing trapped moisture, discarding materials that can't be restored safely, and confirming dryness before closing walls or reinstalling finishes.
If there are signs of musty odor, visible spotting, or concern about contamination after water exposure, homeowners can also review local mold removal options in San Diego to understand what professional follow-up may involve.
Your Recovery Checklist and Getting Help Now
When a house is wet, clarity helps more than speed alone. The right sequence protects both the property and the claim.

Keep this checklist handy:
- Make it safe: Stay out of wet areas with electrical risk.
- Stop the source: Shut off the local valve or the main water line if needed.
- Document before cleanup: Take wide shots, close-ups, and a slow walkthrough video.
- Protect contents: Move salvageable items out of the wet area and separate damp from dry.
- Call the insurer: Open the claim early and keep notes of every conversation.
- Get a professional assessment: Drying should be measured, monitored, and verified.
Fast action is helpful. Measured action is what prevents expensive mistakes.
Serious water damage should never rely on DIY as the primary plan. A professional assessment gives the homeowner a real scope, a documented drying path, and a better chance of avoiding hidden moisture problems later.
If water has entered the home, DamageHelpers can connect homeowners with a single vetted, licensed restoration contractor in their city, without the spam and confusion of multi-contractor lead sites. Help is available 24/7 by phone at (858) 224-3954 or through the online form, with a typical handoff to a local contractor within an hour. The fastest next step is to get an expert on-site now.